
Let’s set up your new drone !
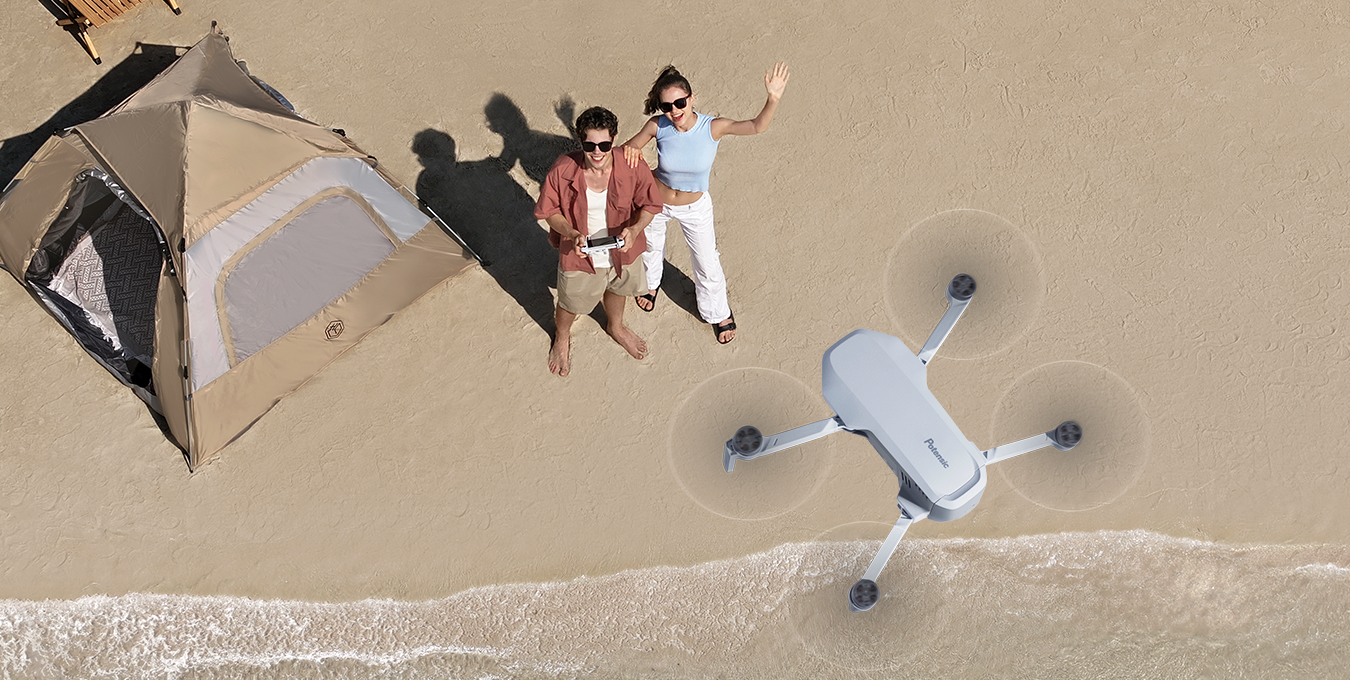
Just got your ATOM and ready to take the first step into a fun new world? This tutorial will introduce you to everything you need to know about flying the ATOM.
Before heading out to fly your drone, take a few minutes to become familiar with your drone.
Quick heads up to the step-by-step operation guides, that takes you from start to finish with the ATOM drone and helps you master the flight skills.
Please see the user manual: ATOM User Manual
For more information about the ATOM Drone, please click: ATOM SPECS
| – | ATOM | ATOM SE |
|---|---|---|
| Gimbal | 3-axis | Single-axis with EIS |
| Transmission Range | 6km | 4km |
| Flight Time | 32mins | 31mins |
| Tracking Method | Smart Visual Tracking | GPS Tracking |
| ISO/Shutter Speed/White Balance Setting | Manual+Auto | Auto |
| FOV | 78° | 118° |
| Video Resolution | 4K@30/25/24fps; 2.7K@30/25/24fps; 1080P@60/50/30/25/24fps | 4K @ 30fps; 2.7K @30fps; 1,080P @60fps;1,080P @30fps |
| Intelligent Flight Mode | QuickShots-Pull-away, Rocket, Circle, Spiral, and Boomerang; Visual Tracking, WayPoint | Follow Me, Circle Flight, WayPoint |
The videos and pictures filmed by ATOM will be stored in SD card, instead of App or user’s album. Make sure to insert SD card prior to flight. Otherwise, it is unable to record and shoot.
Preview Footage: Connect the drone and controller, enter “Media” page via the app and tap to download(please refer to the attached image below), then you could view the the videos and pictures in both App Gallery and phone Album.
Export Footage: If you want to transfer the 4K videos and the photos that you have filmed and taken from your ATOM to your computer. All you need to do is to remove the SD card on the ATOM and insert that SD card to the computer using a card reader then you will be able to view and transfer the videos and pictures to your computer.
To learn more about battery maintenance, please click: ATOM Battery Maintainance Guides
There are two types of ATOM propellers: CW and CCW, which are designed to spin in different directions. Marks are used to
indicate which propellers should be attached to which motors, the two blades attached to one motor are the same. Before mounting the propeller, better confirm the mark on each first.
Notes:
1.If the propeller is mounted in an improper way, the drone cannot take off.
2.The +1/+2, -1/-2, A1/B1,A2/B2… only indicates the production batch, not the marks
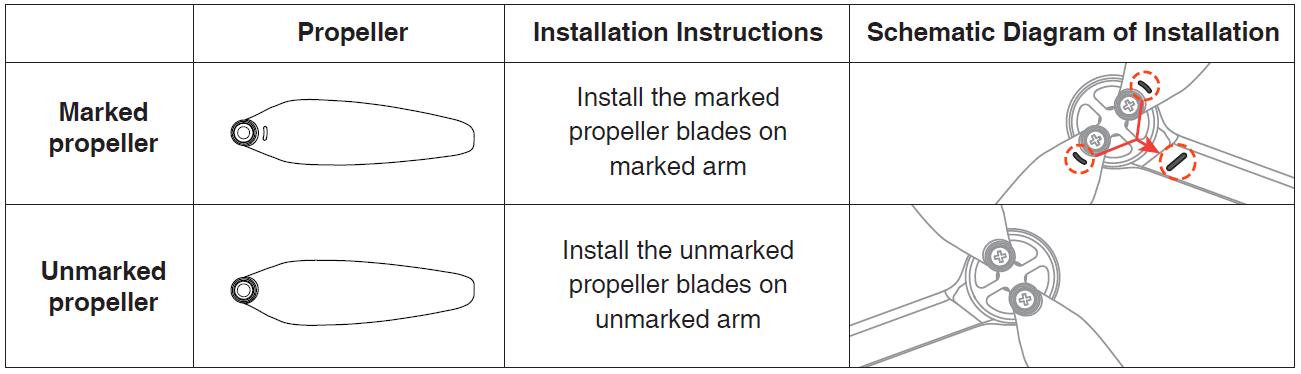
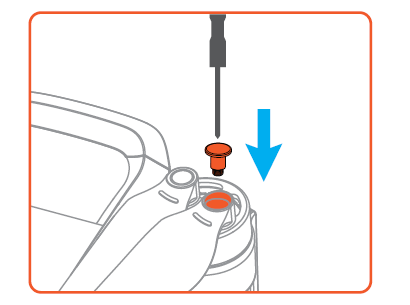
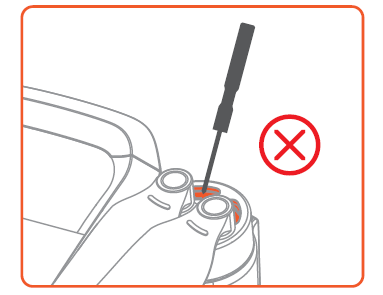
Use the the screwdriver from the package to mount the propellers.
Hold the motor to remove the propeller blades easier.
The signal between the aircraft and the remote controller is most reliable when the antennas are positioned in relation to the aircraft (please refer to the attached image below). If you have not yet used this method, it is highly advised to use it to have an optimal transmission. We suggest also trying it on a different spot and make sure that everything, both the firmware and the App Potensic Pro, is up to date. Should the same result applies, please let us know at support@potensic.com.

1. Check if the propeller and motor gear of the drone are deformed or cracked, if yes, please replace;
2. Check if screws are fixed in place after disassembly.
3. Check if the vibration absorbing ball is loose or stuck, for more, please click: https://www.youtube.com/watch?v=hAhJr6u3Mx8
Weight is the main factor in knowing whether or not you need to register your drone. Regulations may vary in difference countries and area, for more, please click below to know details about the local regulations.
Your cart is empty
Start shoppingWelcome to our store
Membership card
Receive exclusive offers from our loyalty program
Join ProgramAlready a member? Sign in